
 By
By [ad_1]
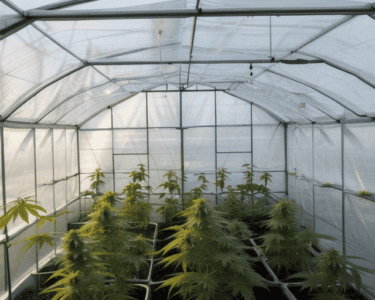
Cannabis cultivation has gained immense popularity due to its potential medicinal and recreational benefits. While outdoor growing has its advantages, greenhouse cultivation offers unique benefits such as temperature regulation, pest control, and extended growing seasons. This guide walks you through the entire process of cannabis cultivation in a greenhouse, from seed selection to harvesting your stash.
Why Choose Greenhouse Cultivation?
Greenhouses provide a controlled environment that replicates the natural conditions ideal for cannabis growth while protecting the plants from environmental stressors. Here are some reasons to consider greenhouse cultivation:
-
Controlled Climate: Greenhouses allow you to manage temperature and humidity levels, which can be especially important for growing cannabis, a plant sensitive to weather fluctuations.
-
Extended Growing Seasons: With a greenhouse, you can start your growing season earlier in the spring and extend it into the fall.
-
Pest Management: Enclosed spaces can be sealed against pests and diseases that may otherwise affect outdoor crops.
-
Higher Yields: By creating an optimal growing environment, you can potentially achieve higher yields compared to traditional outdoor cultivation.
- Natural Light Utilization: Greenhouses harness sunlight, decreasing reliance on electric supplemental lighting and reducing energy costs.
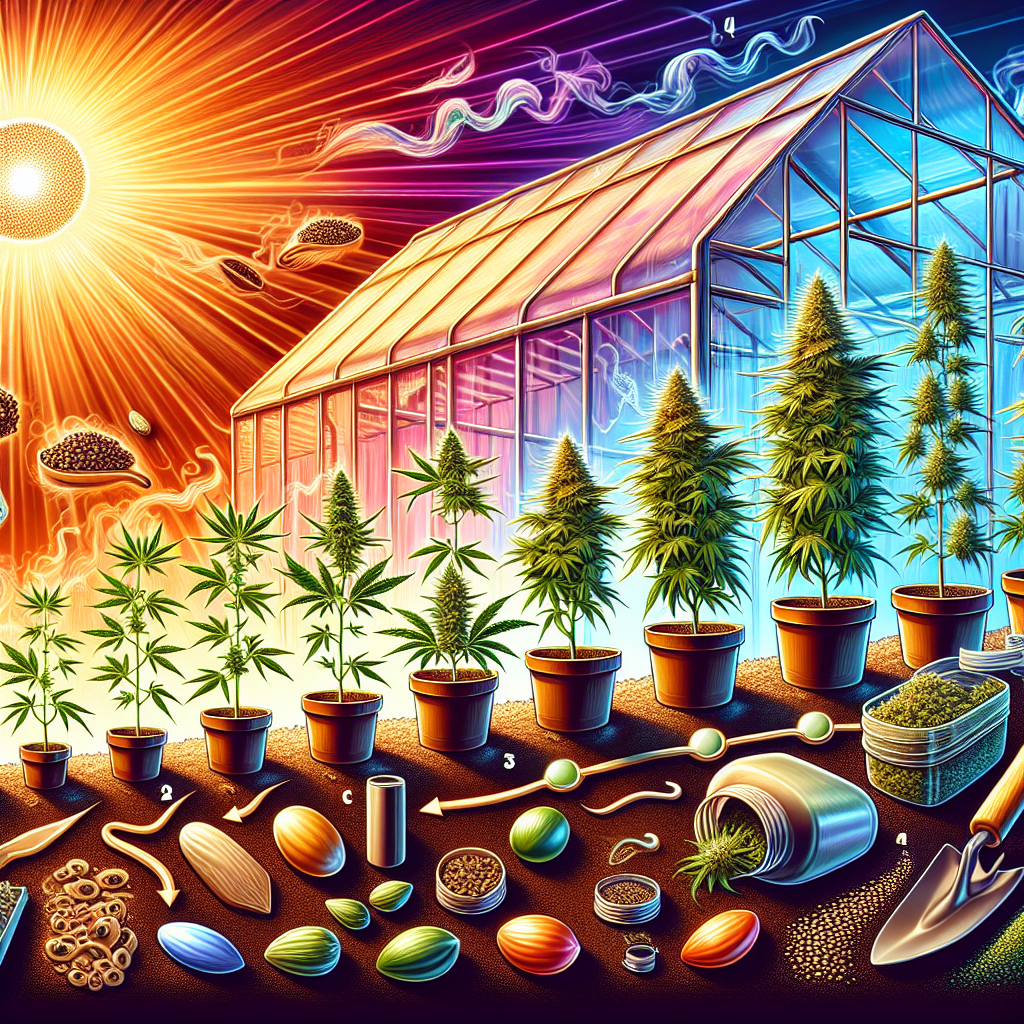
Step-by-Step Guide to Greenhouse Cannabis Cultivation
Step 1: Selecting Seeds or Clones
The journey begins with choosing the right cannabis strain. Seeds come in photoperiod (requiring a light cycle to induce flowering) and autoflowering varieties (flowering independent of light cycles). Select your seeds based on your desired effects, growth patterns, and the strain’s suitability for greenhouse conditions.
If you’re looking for faster results, clones—cuttings from a mother plant—might be your ideal choice. Choose healthy, disease-free clones to propagate.
Step 2: Preparing the Greenhouse
Before planting, ensure your greenhouse is prepared:
- Structure: Construct or maintain a sturdy structure with good ventilation.
- Electricity and Water: Access to electricity for lights and fans, and a reliable water source is essential.
- Soil and Media: Use high-quality organic potting mix, ideally with good drainage. Some growers opt for hydroponic systems, which can yield impressive results.
Step 3: Germination
Seed germination can occur directly in the soil or in a paper towel or seedling starter kit. Maintain a warm, moist environment until the seedlings emerge. Typically, seeds will sprout within 3-10 days. Once they have developed a couple of sets of true leaves, they can be transplanted into larger containers or garden beds within the greenhouse.
Step 4: Nutrient Management
Cannabis plants require essential nutrients:
- Nitrogen: Crucial during the vegetative stage for leaf growth.
- Phosphorus: Essential for root development and flower formation.
- Potassium: Aids in the overall health and strength of the plant.
Consider using organic fertilizers or nutrient solutions designed specifically for cannabis cultivation. Regularly monitor soil pH (aim for 6.0-6.5) to ensure nutrient availability.
Step 5: Light Management
For photoperiod strains, the natural sunlight in the greenhouse will typically be adequate for vegetative growth; however, ensure the plants receive sufficient uninterrupted dark periods to trigger flowering. Supplemental lighting may be necessary during less sunny periods or to extend daylight hours.
Step 6: Pruning and Training
Topping, super cropping, and low-stress training (LST) are methods to promote bushier plants, which can increase light exposure and yield. Regular pruning helps in maintaining air circulation, decreasing the risk of mold and disease.
Step 7: Pest and Disease Management
Influences such as humidity can lead to fungal diseases like powdery mildew. Preventative measures include:
- Maintaining good ventilation.
- Using organic pesticides if infestations occur.
- Regularly inspecting plants for signs of pests or diseases.
Step 8: Harvesting
When flowers (buds) are mature, usually indicated by the color of trichomes (clear to milky white), it’s time to harvest. Trim the plants and hang them upside down in a dark, air-circulated space to dry. Curing is another crucial step, taking place in sealed jars, which allows the buds to develop their full flavor and potency.
Step 9: Storing Your Stash
Once cured, store your buds in an airtight container away from light and humidity. Ideal storage temperatures are between 60-70°F.
FAQs
1. How much cannabis can I grow in a greenhouse?
The amount varies based on the greenhouse size and local regulations. Typically, growers can yield several pounds of cannabis per plant under optimal conditions.
2. Do I need a permit to grow cannabis in a greenhouse?
Yes, most jurisdictions require permits for growing cannabis, whether for personal or commercial reasons. Check local laws and regulations in your area.
3. What’s the best time of year to start a greenhouse cannabis grow?
Start seedlings indoors in late winter or early spring, then transplant them to the greenhouse once they are large enough (about 4-6 weeks old).
4. Can I grow cannabis year-round in a greenhouse?
Yes, greenhouses can be designed for year-round cultivation with proper heating and lighting, though this may incur higher operational costs.
5. What are the benefits of organic versus synthetic nutrients?
Organic nutrients promote a healthy soil ecosystem, which may enhance plant health and flavor. Synthetic nutrients can provide quick results but may lead to soil depletion in the long term.
Greenhouse cannabis cultivation is both an art and a science, rewarding growers with satisfying yields and quality buds. By following this comprehensive guide, you’ll set yourself up for a successful and bountiful harvest. Happy gardening!
[ad_2]